What is Clerk?
Clerk is a complete user management solution for modern web applications. It provides authentication, user profiles, session management, and access control. Clerk can be easily integrated to simplify building user-centric apps. When you connect Same with Clerk, you can use natural language to:- Set up authentication flows and UI for sign-up and login
- Manage user sessions, roles, and permissions
- Retrieve and update user profile data directly within your project
Get started with Clerk
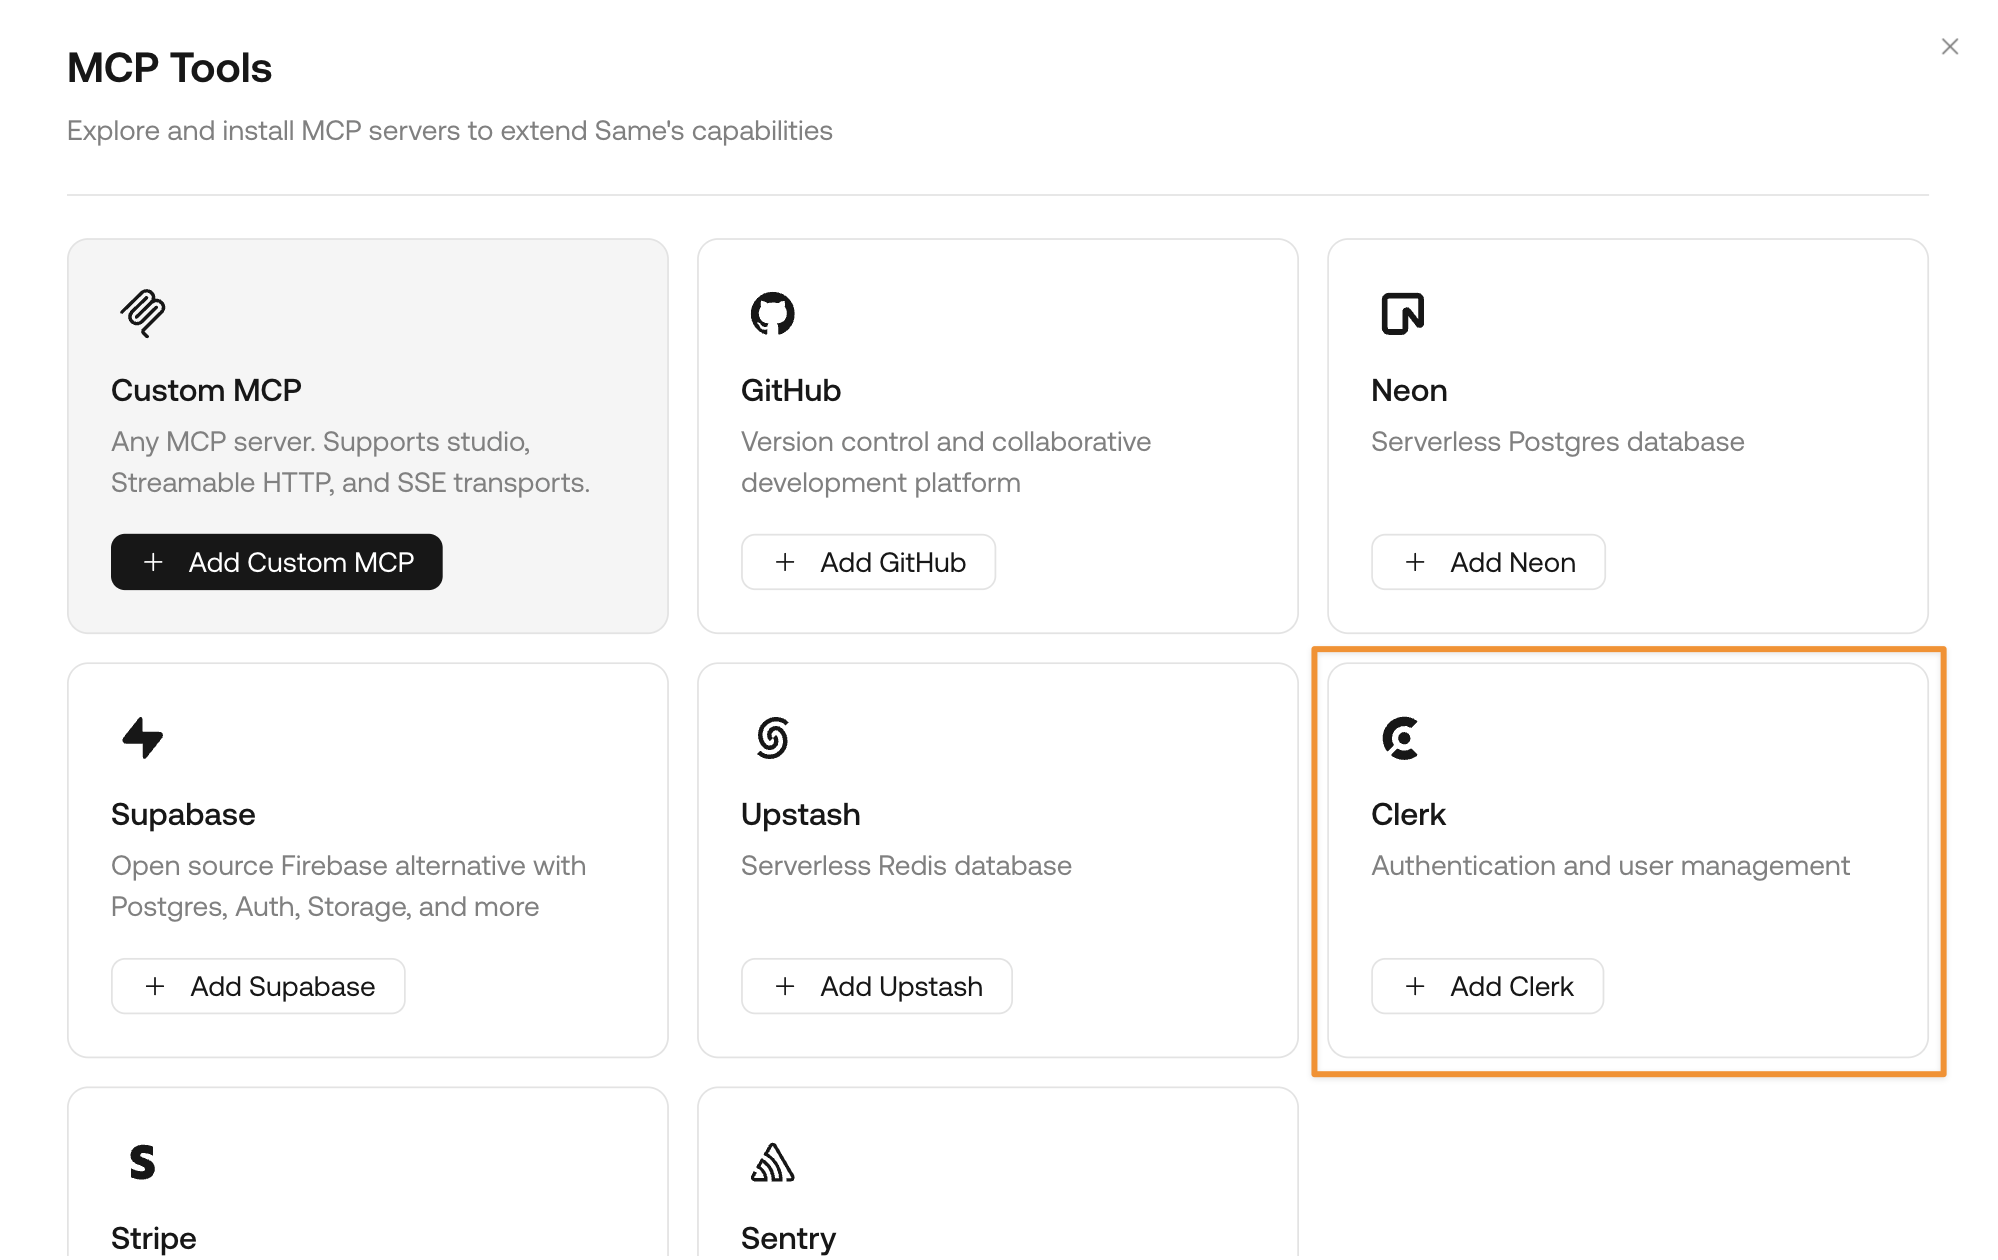
We recommend connecting to Clerk through MCP
Set up your Clerk account
Follow the instructions to create a Clerk application for your project. You may need to sign up for an account if you don’t have one yet.
Clerk provides free plans for new users. Check Clerk’s pricing.
Add Clerk authentication to your project
Once the connection is successful, directly ask Same to:Same will automatically set up the authentication foundation for your project.
Set up your Clerk API keys
To fully integrate with Clerk, you need to copy your API keys to your
.env file. You can directly ask Same for detailed instructions:Clerk has different keys for test environment (where you are building) and live environment (where your app is published). You can use the test environment keys first, then switch to live environment keys when you deploy. Learn how to deploy your Clerk app to live environment
Sample prompts with Clerk
Here are some sample prompts you can try with Clerk to discover its full functionality:Add Clerk authentication to your project
Add Clerk authentication to your project
Design organization authentication for your SaaS app
Design organization authentication for your SaaS app